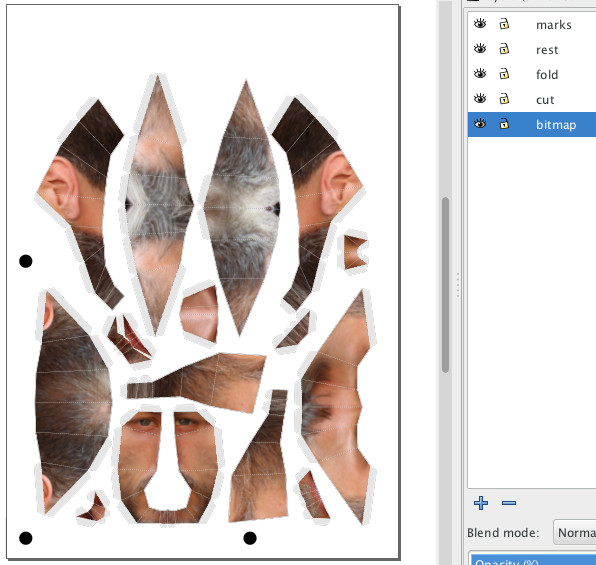
You will need to install Blender and the Papermodel Addon for the workshop.
For the tutorial Gimp and Inkscape are used for editing bitmaps and vector-graphics, but you can also use Photoshop and Illustrator.
Download and install Gimp.
Download and install Inkscape.
Once you have blender installed, you can install the papermodel plugin by going to File → User preferences → Add-ons → Install from File and choose io_export_paper_model.py that you downloaded from the link above.
Once it appears in the plugins, you still need to activate it by clicking the little checkmark on the right of it.
For a Basic Introduction to Blender, have a look at this page.
Then you can either use one of the following files as template or design your own model.
LucianaThe template already has a UV-map. If you start your own model, you will have to unwrap it.
With your cursor in the 3D-View hit N for opening the "numeric" side-panel.
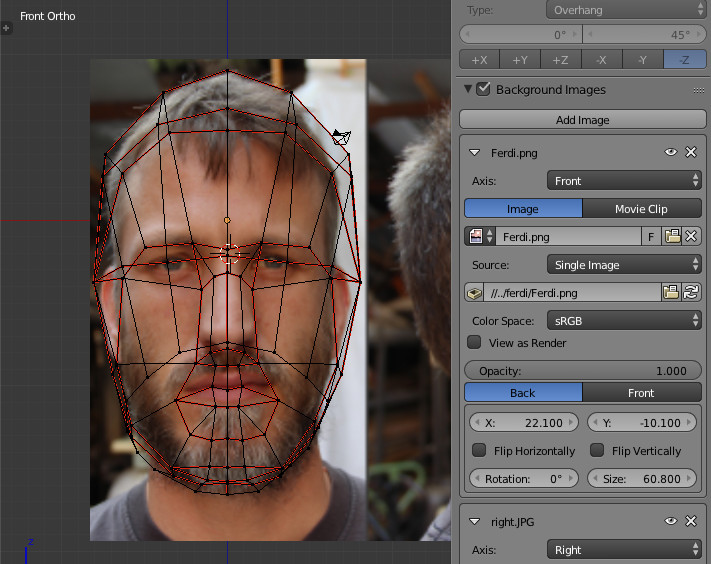
Scroll down to "Background Images.
Check the mark and add the image we previously prepared to the front and right view.
Use the controlls for aligning it with the 3D-Model:

Adjust the mesh to the general proportions of your photos:
Enter "Edit-Mode" Tab
Use the selection Tools (B, C or Shift+right-click) and the Grab-Key G for moving the vertices to the right locations.
Try hitting O before using grab and experiment rotating the mouse-wheel.
Once you have your mesh aligned, find the "object-data"-tab in the "Properties-Window".
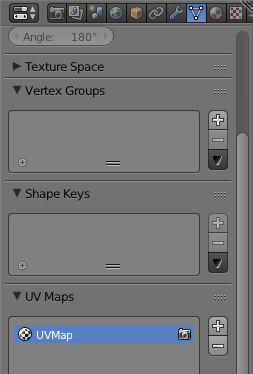
Orient the model to the front view (View → Front, or Numpad 1)
Make sure you are in "Edit-Mode" Tab
Split your 3D-View in half vertically, by right-clicking on the upper border of the window and selecting "split window".
Change the right window to "UV/Image Editor" by clicking on the selector in the bottom-right corner.
You should be seeing something like this:
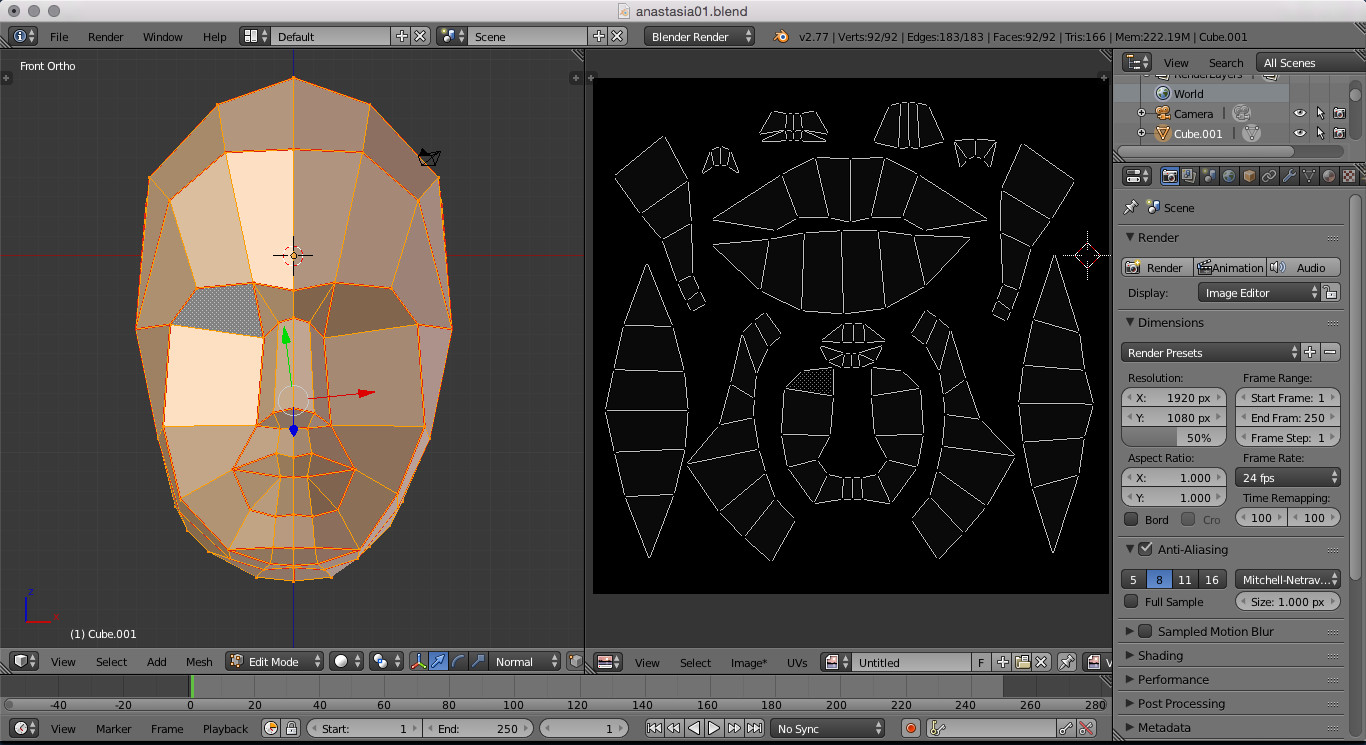
Make sure that your 3D-View says "Front Ortho" in the upper right corner:

If it doesn't, use 1 and 5 until it does.
Select everything A
.
In the "object-data"-tab ("Properties-Window") make sure that your new UV-map "Front" is selected.
With your mouse in the 3D-View hit U and select "Project from View".
The result should look like this:
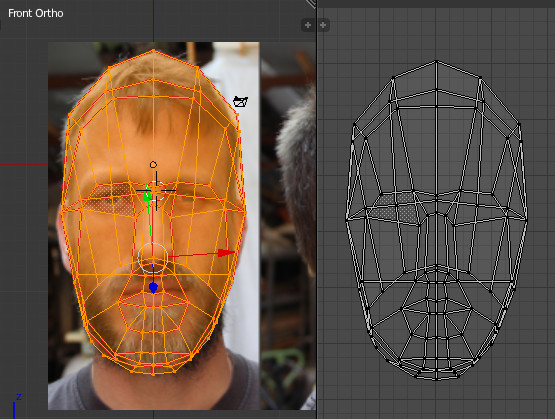

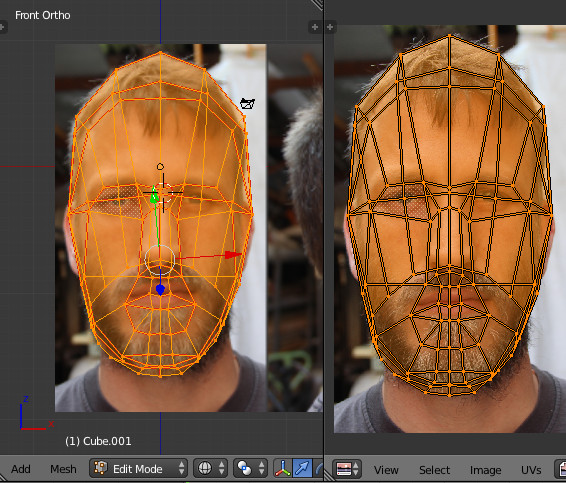
Repeat the same steps for the side and back view:
Create a UV-map "right",
Put the 3D-View in the "right-view" 3
With your mouse in the 3D-View hit U and select "Project from View".
Open the picture and align your UV-map to it.
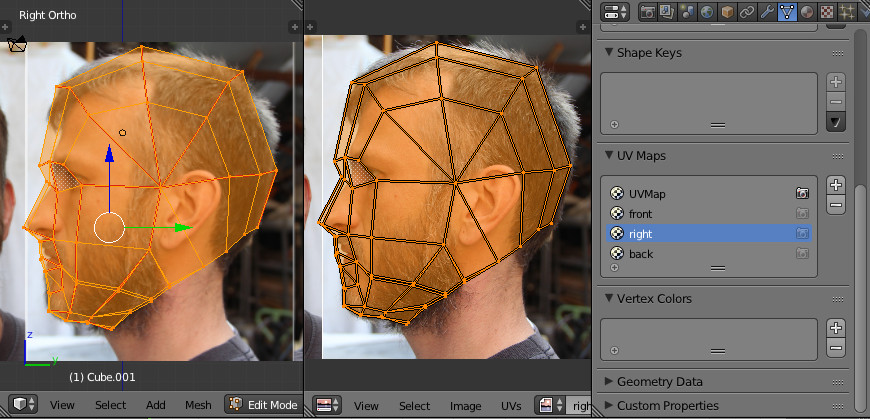
Repeat the same for the "Back"
Now we should have four UV-maps: Front, Right, Back and UV-map
With all the maps made, we can switch to "Texture Paint mode
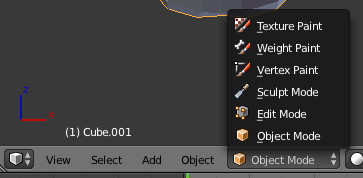
If it isn't already, open the right side-panel by pressing T
Your model will appear in pink.
Add a new Material in the Properties-Window by clicking on "New":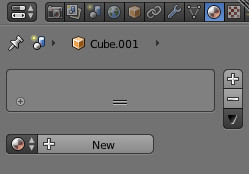
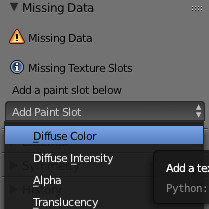
Add a "Paint-Slot" and choose "Diffuse Color". Keep the default settings.
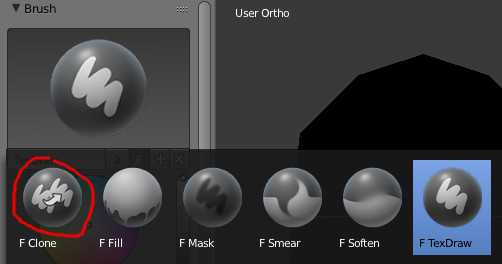
Click on the sphere and choose the clone-brush:
Check "Clone from paint slot"

In the UV/Image-Editor click on "New" for creating a new image:
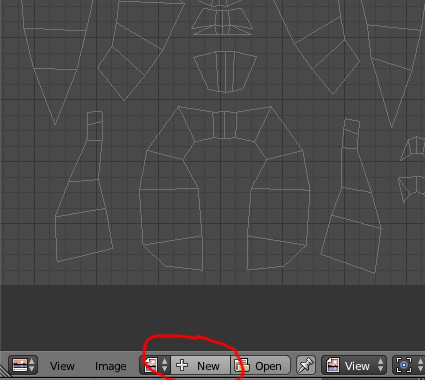
Name it "unwrap" and keep the default settings.
Select the second tab called "Slot".
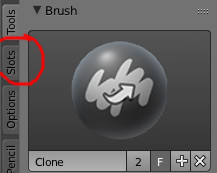
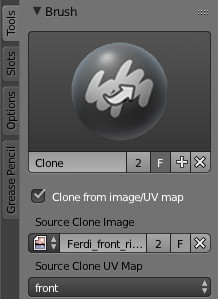
Now you can start to clone brush your front view onto the model.
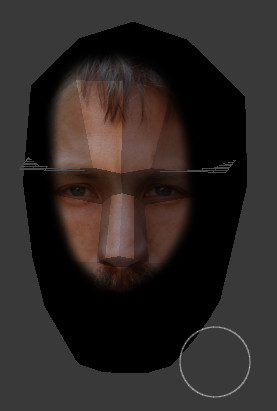
Once you are finished, switch the "Source Clone UV-map" to "right" and start painting on the right side.
If you turn on "X" in "Symmetry", it will mirror to the left side.
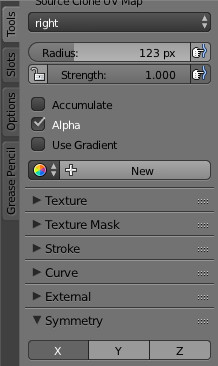
Same procedure for the "back".
Once you finished painting all arround, you should be seeing something like this:
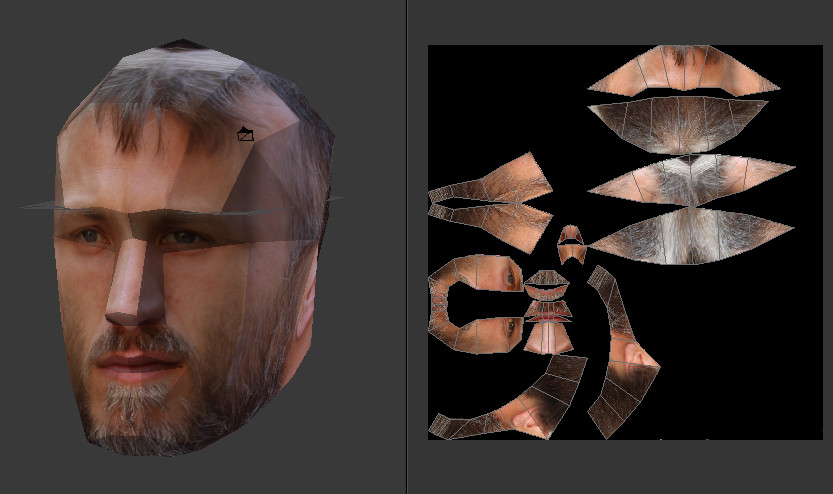
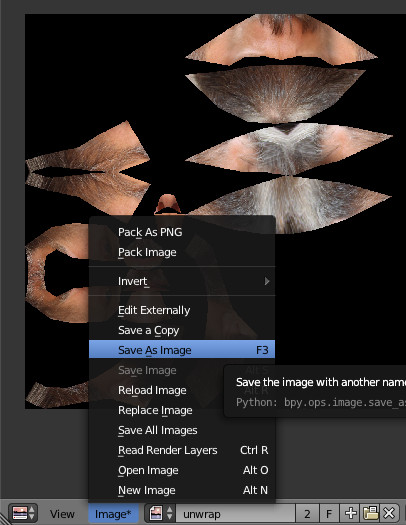
Now save your texture:
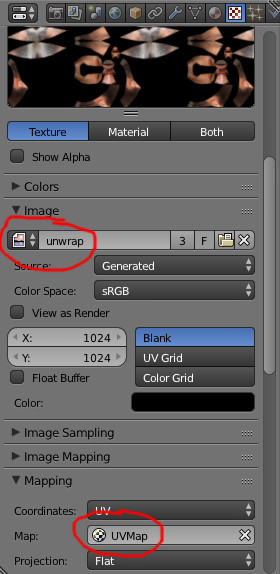
And add the texture to your material:
Now we can start using the Papermodel-plugin. It is located in the "Tool-Shelf" of the 3D-Window (T)
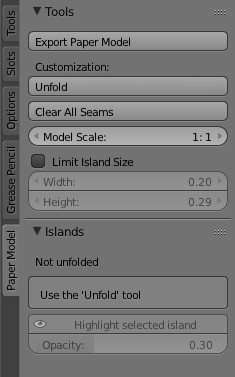
Click on "Unfold" and then on "Export Paper model".
These are the settings in the export dialog:
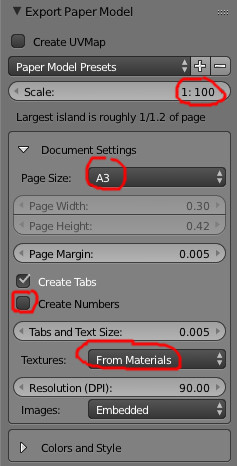
Scale 1:100
Page Size: A3
Textures: from Materials
Choose a filename ending in "svg"
and open the resulting image in Inkscape:
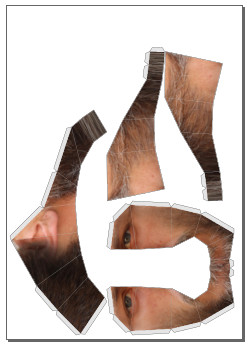
Now you only need to add the cutmarks for the Roland GX-24
You should also keep the margins according to this template.
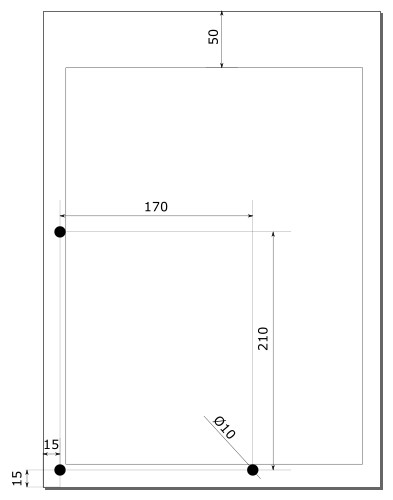
The three little circles are for the Vinyl-Cutter for recognizing the orientation of the print.
A few tricks for extracting the necessary lines:
Select everything and ungroup it a few times until you have single objects (Shift+Ctrl+U)
Open the layer dialog and create layers for "cut", "fold", "marks", and "images".(Shift+Ctrl+L)
Select one of the bitmaps, hit Ctrl+F
Check "Search in": Properties
"Object type": Images
Click "Find". It should select all the bitmaps. Move them to their layer by right-clicking --> Move to layer
Select one of the cutlines
Open the XML-Editor (Shift+Ctrl+X
Click on style and copy the attribute: stroke-width:1.06299222
Do a Ctrl+F
and search for the style attribute.
Do the same for the fold-lines.
Once you have everything on it's own layer, you can easily generate the files for printing and cutting.
